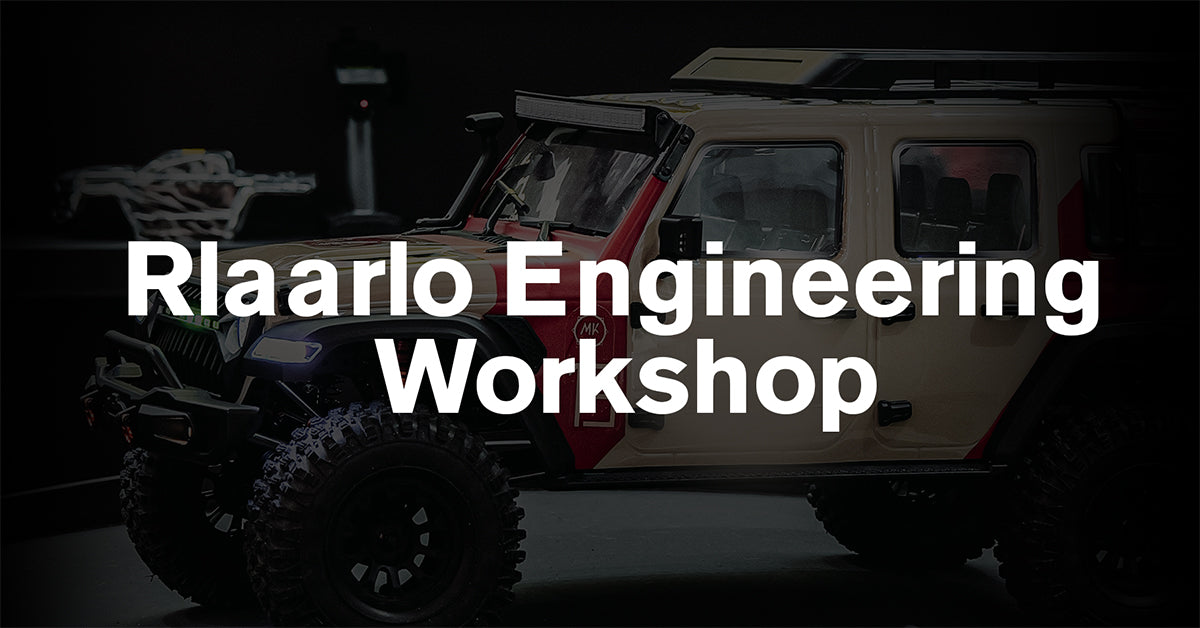
Welcome to the Rlaarlo Engineering Workshop!
Upgrading your RC car can be daunting, but don't fret! With some know-how, anyone can unleash its full potential.
Let Rlaarlo open the doors to the world of remote-controlled car modifications for you!
Today, we will show you how to replace the front CVD (Constant Velocity Drive) of the Omni Terminator and the rear drive cups and dog bones.
Tools and Parts Needed:
- Hex wrench
- 1.5mm and 2.5mm hex drivers
- Step-by-Step Instructions:
- Prepare the Tools and Parts
- S2 Alloy Steel CVD
Gather all necessary tools and upgrade parts before starting the replacement process.
Unscrew the Steering Links
- Use the 1.5mm hex driver to unscrew the steering links.
Remove the Upper Suspension Arm
- Use the 2.5mm hex driver along with the hex wrench to unscrew the screws securing the upper suspension arm from the C hub.
Remove the Wheel Components
- Remove the wheel hex, take out the pin, and remove the shim.
Remove the Original CVD
- Take the original CVD out of the steering hub.
Install the Upgraded CVD
- Insert the upgraded CVD into the steering hub. Re-install the shim, pin, and wheel hex back into place.
Connect the CVD to the Differential Out Drive Cup
- Insert the other end of the CVD into the differential out drive cup.
Reinstall the Upper Suspension Arm
- Secure the upper suspension arm with screws.
Reattach the Steering Links
- Re-install the steering links and ensure the movement is smooth.
- Repeat for the Rear Components
The steps for the rear are the same as for the front. After unscrewing the upper suspension arm screws, remove the dog bone and drive cup. Align the upgrade parts with the holes and replace them in sequence. Secure the upper suspension arm with screws.
We'll keep adding more tutorial, so stay tuned for updates!
If you have any topics you'd like to see, drop a comment on the our Youtube(@Rlaarlo) channel.
We'll create content based on your feedback.


