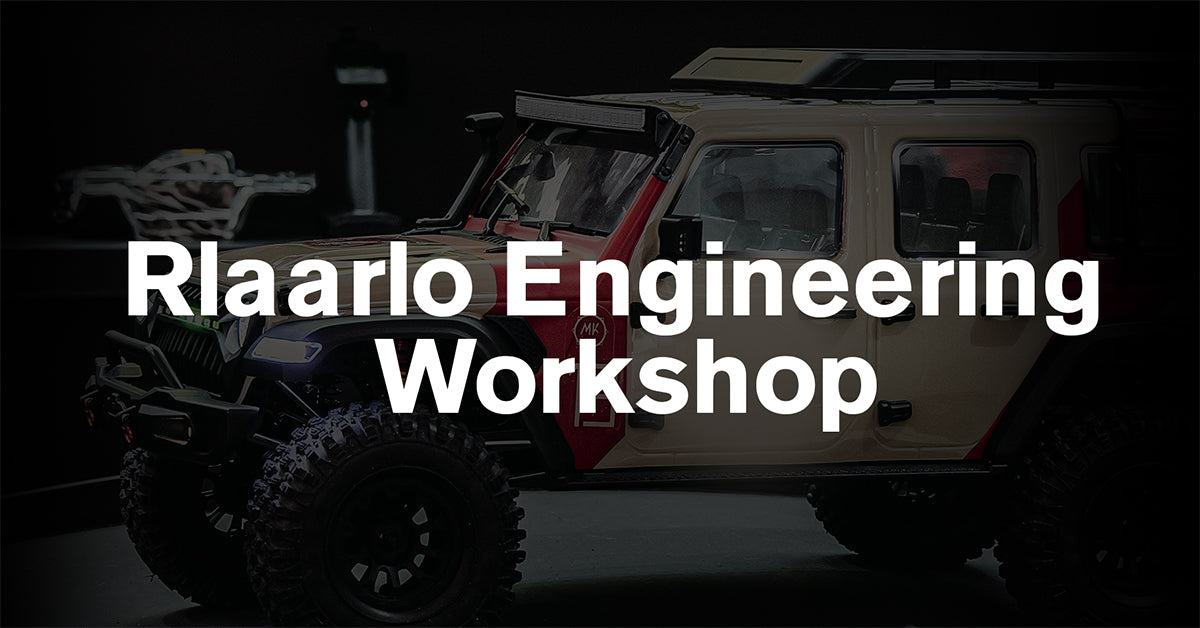
Welcome to the Rlaarlo Engineering Workshop!
Upgrading your RC car can be daunting, but don't fret! With some know-how, anyone can unleash its full potential.
Let Rlaarlo open the doors to the world of remote-controlled car modifications for you!
Today we're going to learn how to upgrade the differential on your Rlaarlo Omni-Terminator
Tools and Parts Needed:
- Upgrade kits for the front and rear differentials
- 1.5mm and 2.0mm hex drivers
Replacing your Rlaarlo Omni-Terminator differential requires the following steps to be performed:
- Remove the Bumper
- Unscrew the four screws securing the bumper.
- Carefully remove the bumper from the vehicle.
- Remove the Sway Bar
- Unscrew the four screws fixing the sway bar in place.
- Remove the sway bar.
- Remove the Differential Case
- Unscrew the four screws from the differential case.
- Remove the differential case to expose the differential inside.
- Extract the Differential
- Using needle-nose pliers, gently pull out the differential from its housing.
- Remove the Output Gear
- Locate and remove the grub screw securing the diff output gear.
- Pull out the output gear, being careful not to lose the shim.
- Install the New Output Gear
- Align the flat side of the gear shaft with the grub screw before tightening it.
- Align and Insert the Drive Shaft
- Lift the central drive shaft, align it, and insert the outdrive gear shaft into the drive cup.
- Tighten the grub screw to secure it.
- Install the New Differential
- Place the new assembled differential into the housing, ensuring the dog bone fits correctly into the drive cup.
- Apply Grease
- Apply grease to the gear, rotating it to evenly distribute the lubricant.
- Reassemble the Differential Case
- Re-install the differential case and secure it with the screws.
- Reattach the Sway Bar
- Re-fit the sway bar and secure it with the previously removed screws.
- Reattach the Bumper
- Re-attach the bumper and secure it with the screws to complete the assembly.
We'll keep adding more tutorial, so stay tuned for updates!
If you have any topics you'd like to see, drop a comment on the our Youtube(Rlaarlo) channel.
We'll create content based on your feedback.